Lighting- (I know this part is a repeat from yesterday- but it’s that important)
There is no nice way to say the following:
Don’t just wrap your lights around your Christmas tree in rows- just stop it!
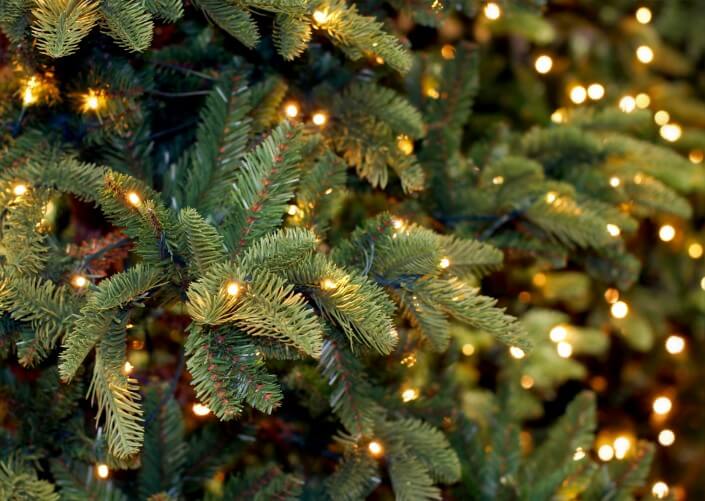
1] Lights: These go on first before anything else. The secret is to make the lights appear from the inside of the tree out and look as though they are just lights, no cords. Starting at the bottom- and at the trunk, place your cord under each branch following the length of the branch and then wrap the light around the tip of the branch. Then head back in toward the trunk and do it all over again, all the way to the top. Yep- that’s right and that’s why that is Doug’s (my Husband) job at home and Donna’s (very first LDI employee) at work. This conceals all the cords and makes the lights dimensional. When you get to eye level for the average height, reverse it so the cord is on the top of the branch. It’s magical- a beautiful thing!
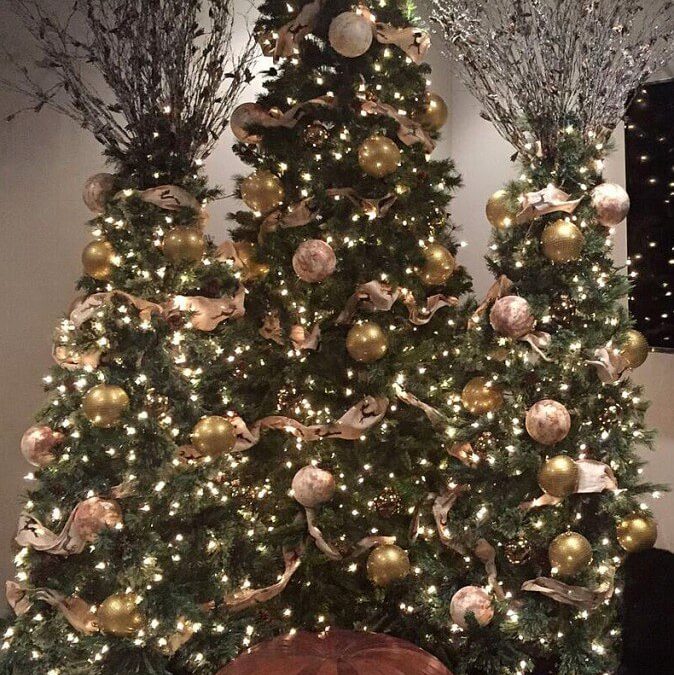
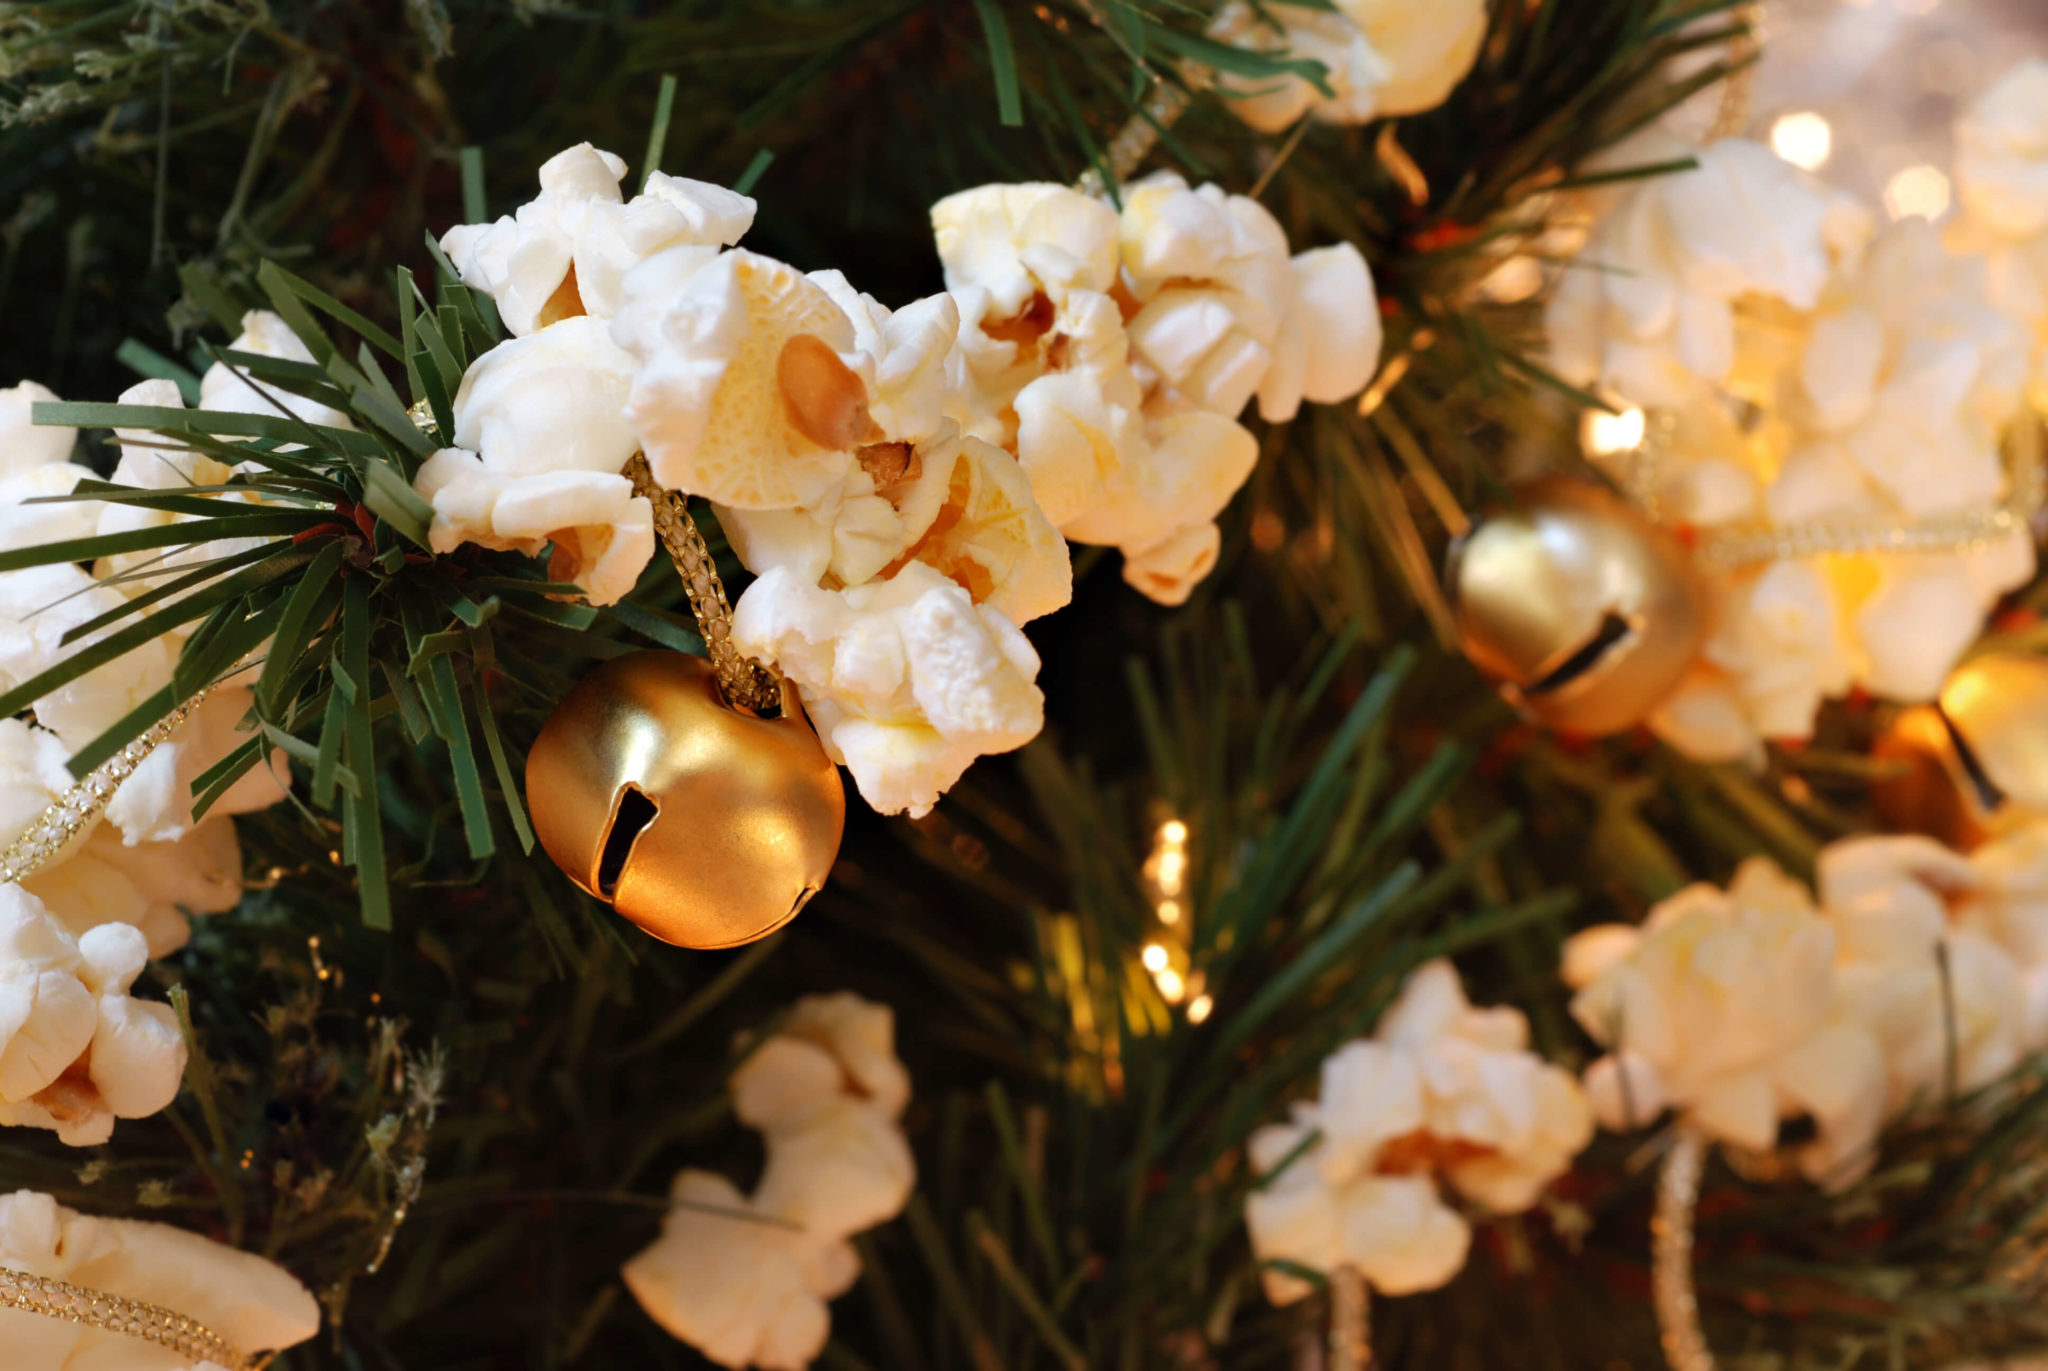
2] Garlands; If you have beads, garlands, popcorn (oh brother), ribbon, angel hair, tinsel etc. etc. etc. – do that now. But again, people, don’t just walk it around the tree in a circle. Move your arms in and out from trunk to tip. Not every limb needs to be touched, but the areas you choose, go from trunk to tip.
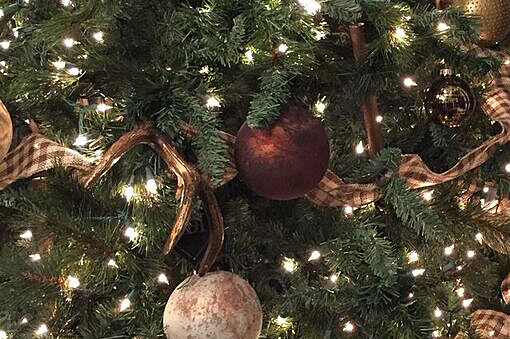
3] Ornaments: Hang the biggest ornaments first and not just at the bottom- they can go everywhere on the tree for balance. (and yes, these ornaments and antlers are available at Lee Douglas for purchase)
Funny Story, I was asked to do a radio show once on decorating a Christmas tree and my quote was…”if you have big balls”…oops-I got a lot of comments from that.
So…if you do have big “ornaments” space them out!
I usually change all of my ornament hangers to green or black wire- that way, I have more control, they don’t fall off, and I can hide the method of hanging. If you use string, wrap it tight on the branch so it doesn’t hang way down.
Now those are the basics-for the designer look follow these tips:
[they will be explained in detail in future blog posts- see the post featuring our list of posts to come.]
Tip #1– Think Big! Don’t she away from big impact ornaments and items.
Tip #2- Don’t just think Holiday- anything you love, can be put on a tree. Pictures, paper documents (poems or music), sculpture, etc. Doug and I have these birds nests from a hundred years ago- they go on every year, and every year it makes us smile.
Tip #3- Use naturals-sticks, dried flowers (dried hydrangea is perfect on a tree), pine cones, pods, etc.
Tip #4- Every tree deserves to be topped off – Tree toppers are so easy and say “I was done by a professional”. See Monday’s blog for detailed instruction.
Tip #5- No, you can’t just decorate the front of the tree.
Tip #6- If you like fake snow- here’s your chance. Don’t buy cheap fake snow – get the good stuff, and a tall ladder. Stand above your tree and drop it gently – such a glorious finishing touch!
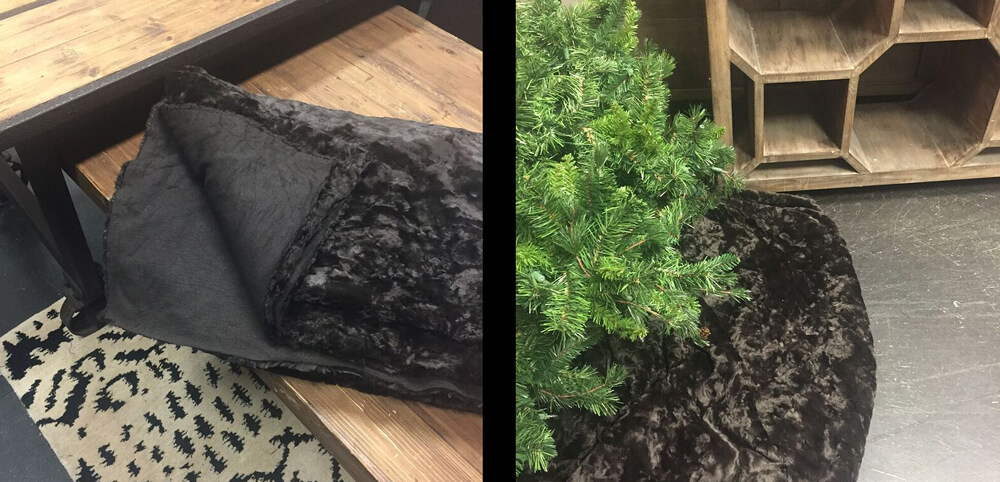
Tip #7- Don’t buy tree skirts-use yardage of fur or fabric instead. Those skirts hardly show so don’t bother. For a standard tree, go buy a great flannel or wool for that “Ralph Lauren” look, a fur gives the glamorous gig, and a hound’s-tooth would be great if you want it sweet or happy. Get about 6-9 yards and simply drape it at the base. When you have it where you want it, tuck the unfinished edge up- that’s it.