
SHOULD WE TAKE THIS OUTSIDE?
(A guide on how to decorate your outdoor pots and planters for the holidays)
Yes, I am an INterior designer, but let’s face it, the first impression of your home is at the front door. I have done the pots outside at the Lee Douglas stores for years knowing that even if people are just driving by – they know what we are about – design and details. This is my first “how to” because the dirt in our pots isn’t frozen yet, so take advantage while there is still time.
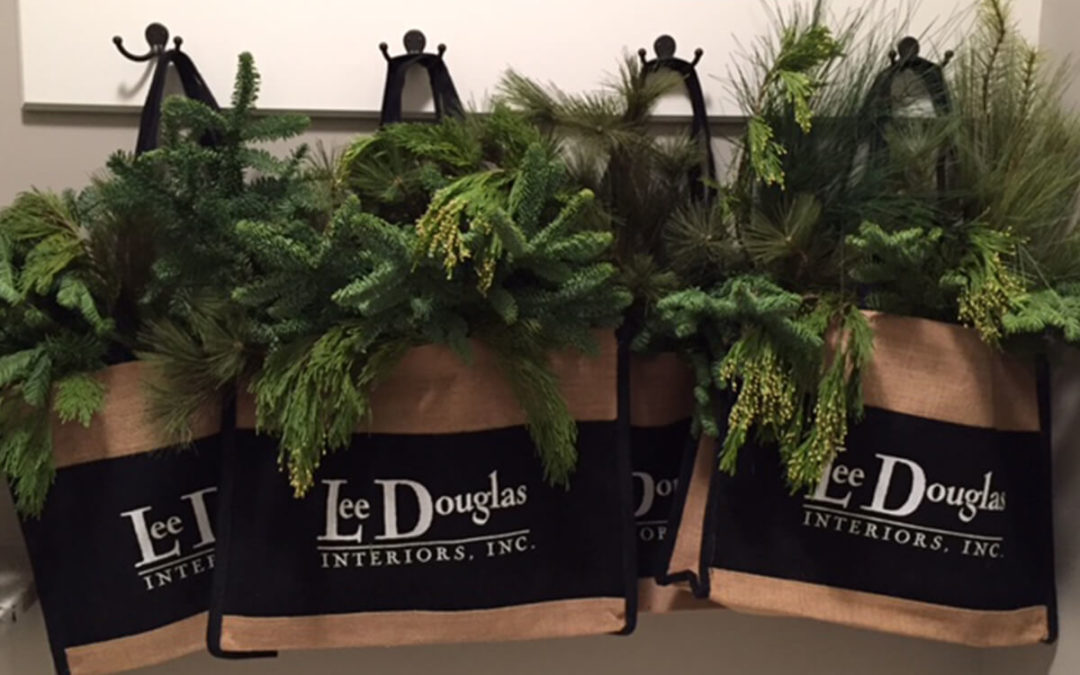
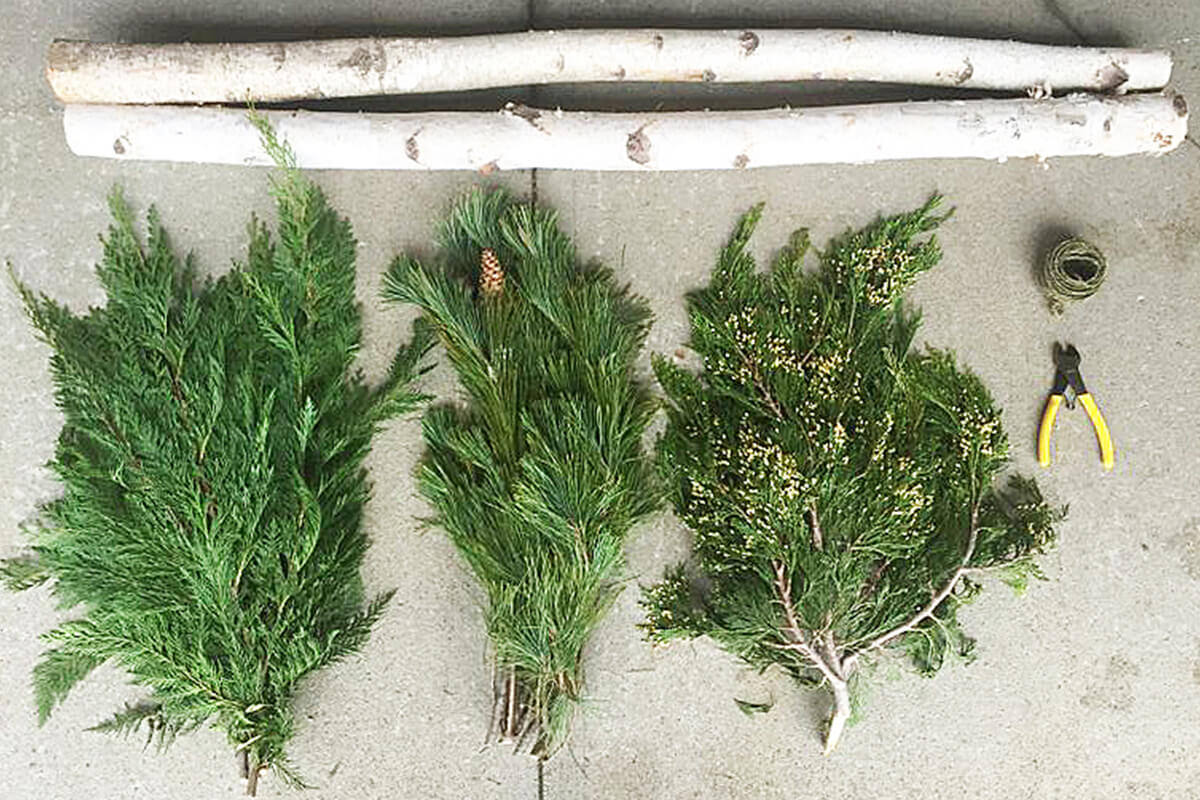
STEP 1: Gather your supplies. A few must haves are covered floral wire and wire cutters. I chose to use birch logs (you can find them at the Lincoln and Omaha Lee Douglas stores- we have a huge supply coming). Get fresh greens, ribbon, artificial greens and branches, and any other fun holiday items that make it all about you.
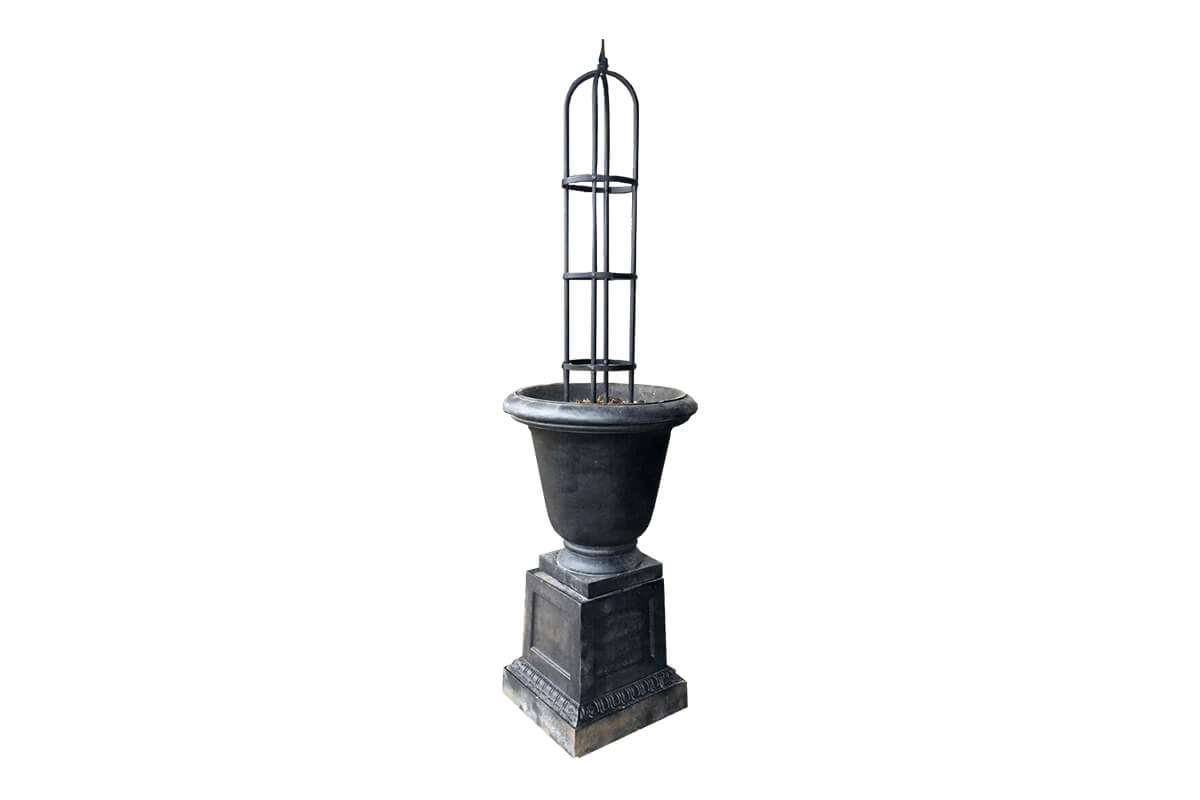
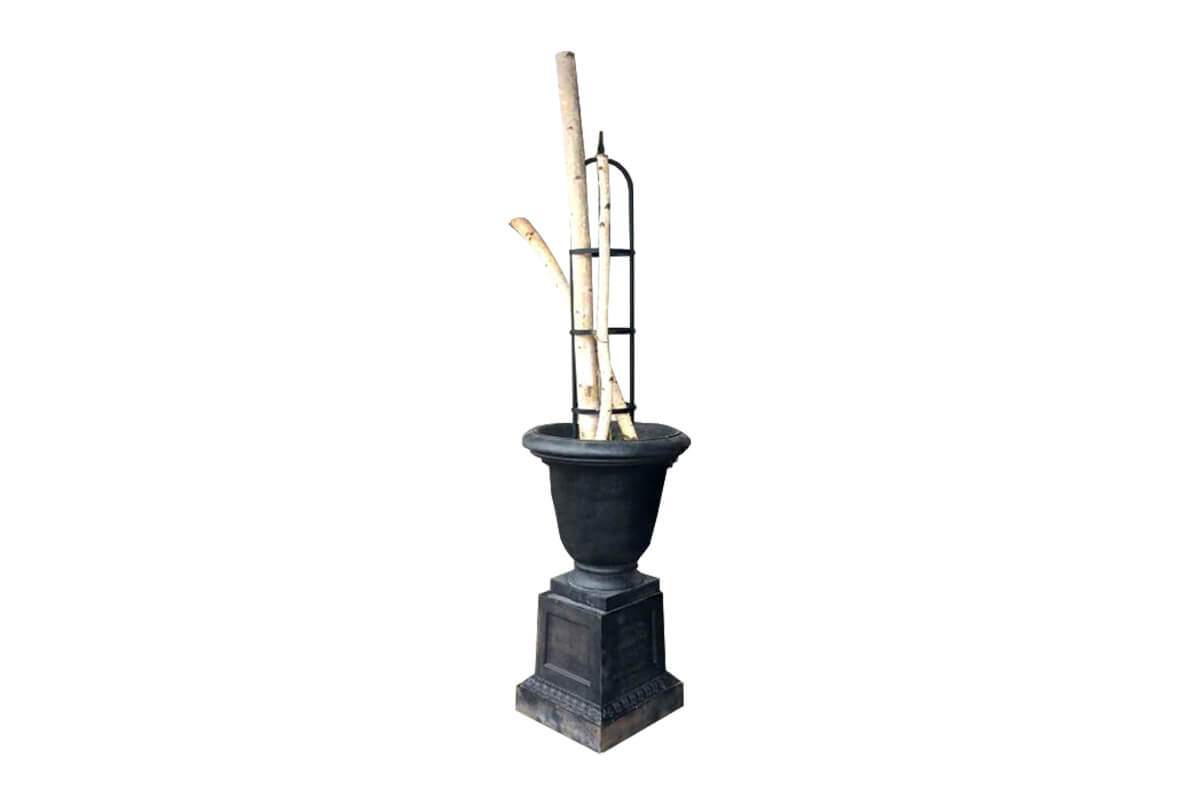
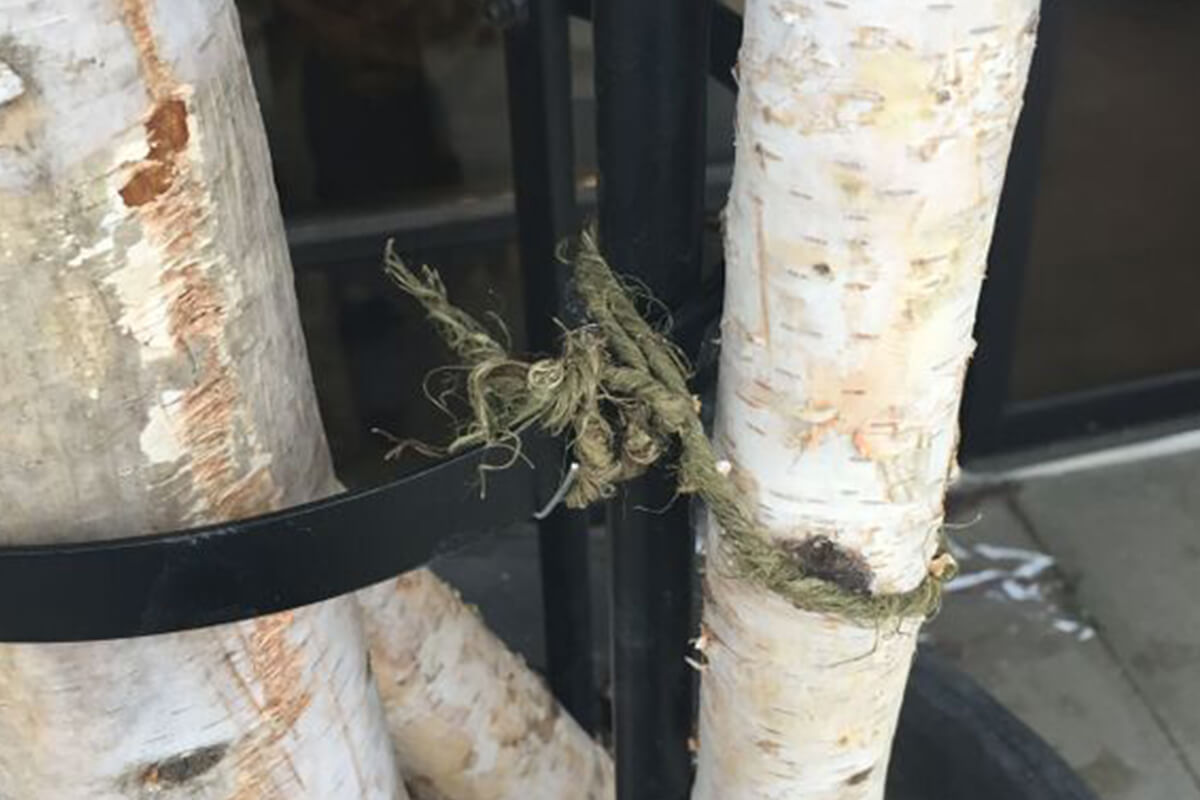
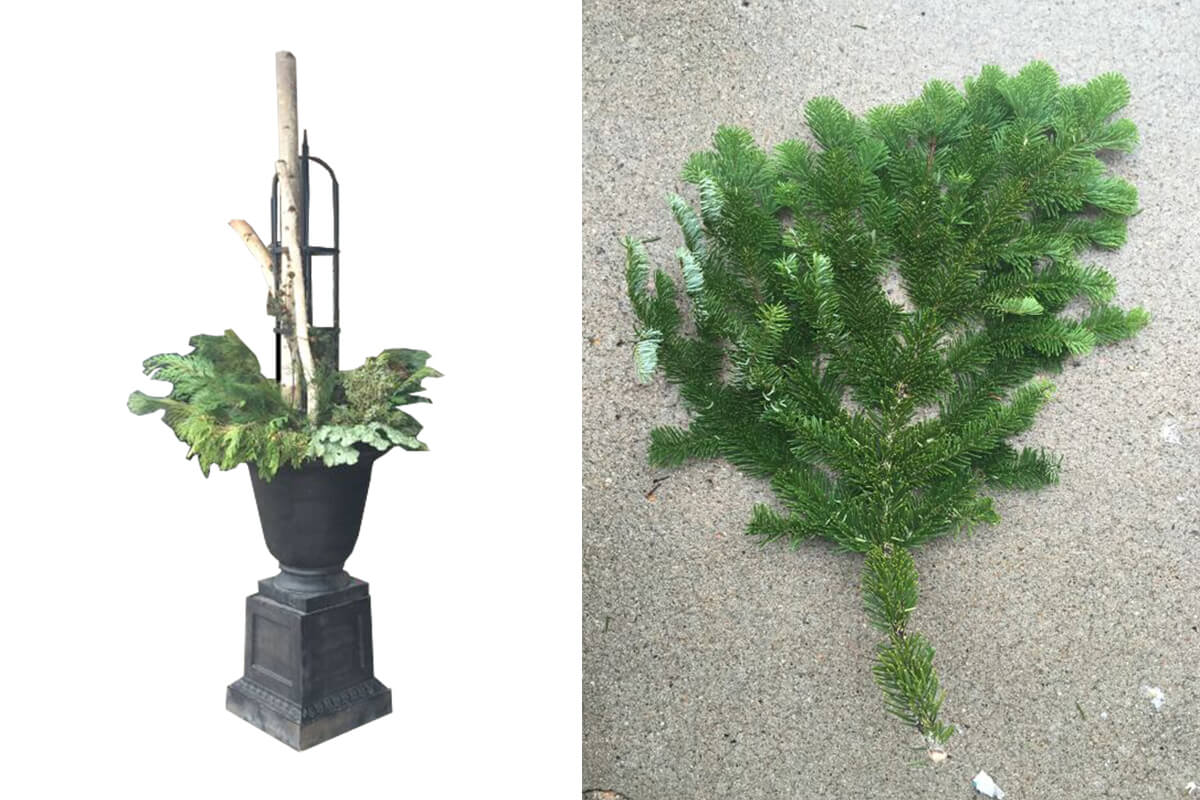
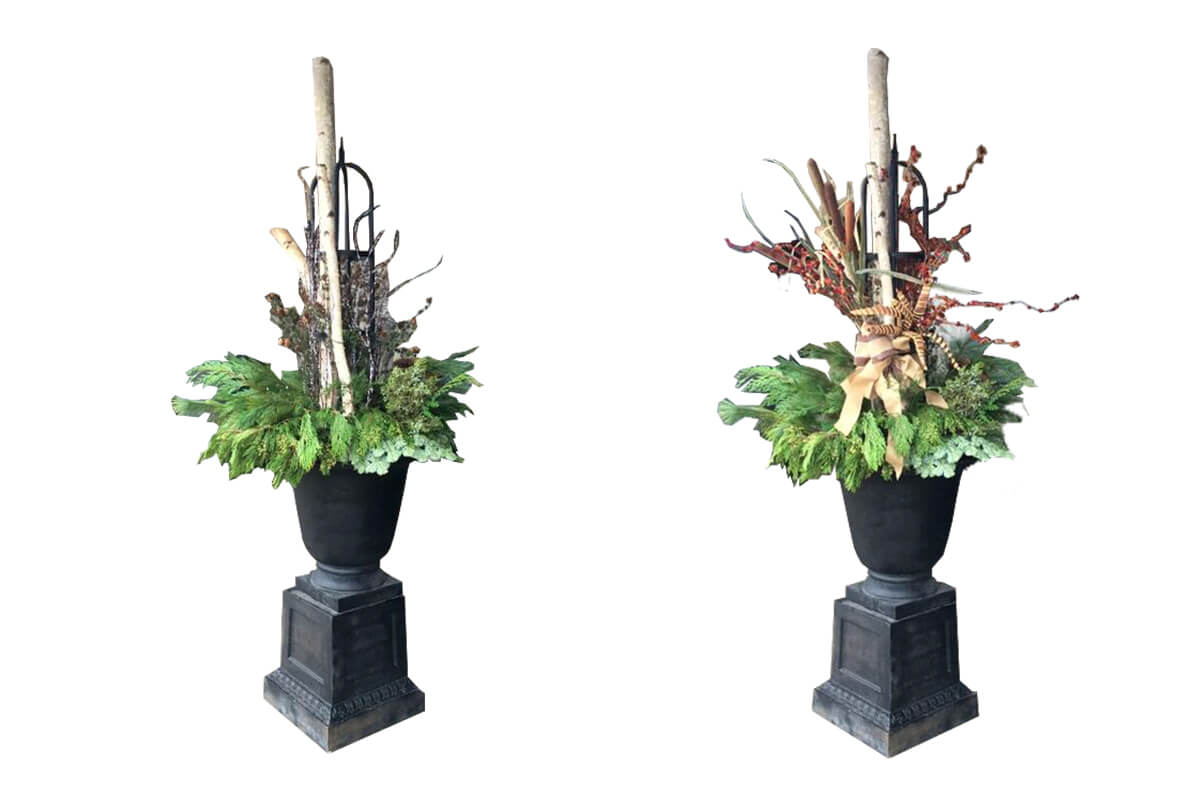
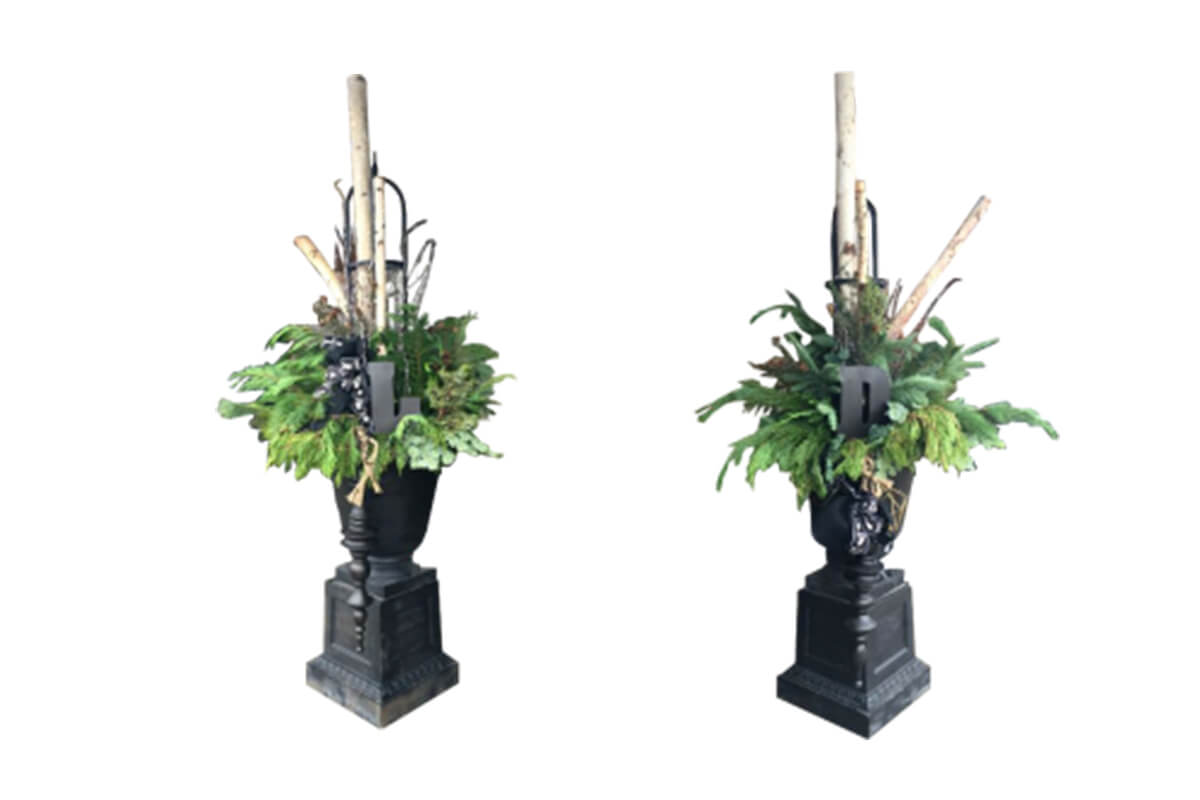
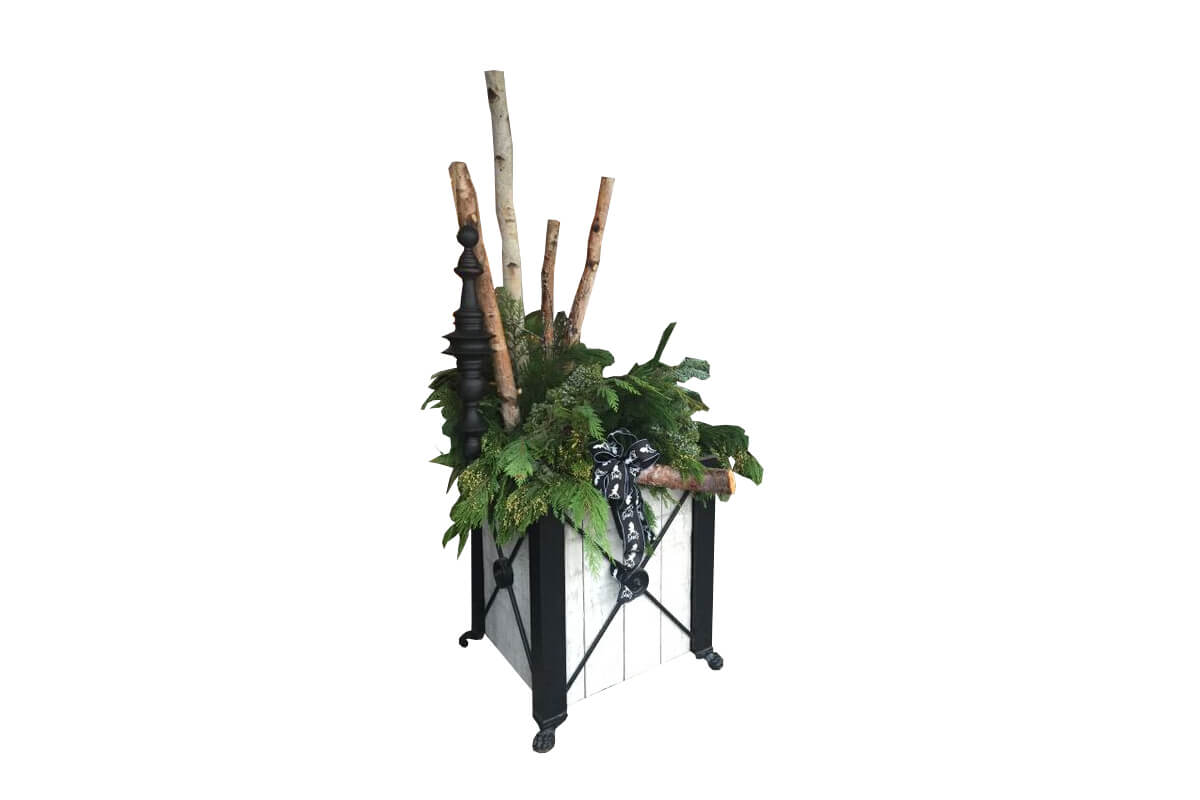
STEP 2: Start with height- I used an obelisk trellis. The reason I love these, is because it gives me a frame work. I added three birch logs in our pot and wired them to the existing trellis. If you do not have a trellis, you can wire the logs to each other or add soil and greens to your pot around the logs to help hold them in place.
STEP 3: Use a variety of fresh greens to build your base. I used Noble Fir, White Pine, Incense Cedar, Silver Fir, and Juniper (FYI- we got a great price on greens this year so we are passing the savings on to you and selling them for $69.00/ 30 lb. box of the greens listed above). I used 2 boxes for 4 large pots to give you an idea of how far they go. It is important to strip the bottom of your branches to give you a solid point of entry into your pot. We like to use fresh greens because they will last all winter long. You can build your pot base with fresh greens and birch logs in Fall and leave them until Spring, only needing to change the accessories if you wish.
Step 4: Now that your base is established, you can add the finishing touches for the winter holidays. For THANKSGIVING, I added some cattails and warm earth tone floral accents and finished it off with a burlap bow. Now for CHRISTMAS or HANNUKAH or the winter season, just remove the fall foliage and add the artificial snow branches and greens with pine cones and you have a whole new look.
Step 5: Personalize your look- since this is the Lee Douglas Omaha store front, I wanted to add something that is not normally in a pot, so I did the “L” on one pot, and the “D” on the other for Lee Douglas (get it)? Just think outside the box- that’s what gives your pots their claim to fame.
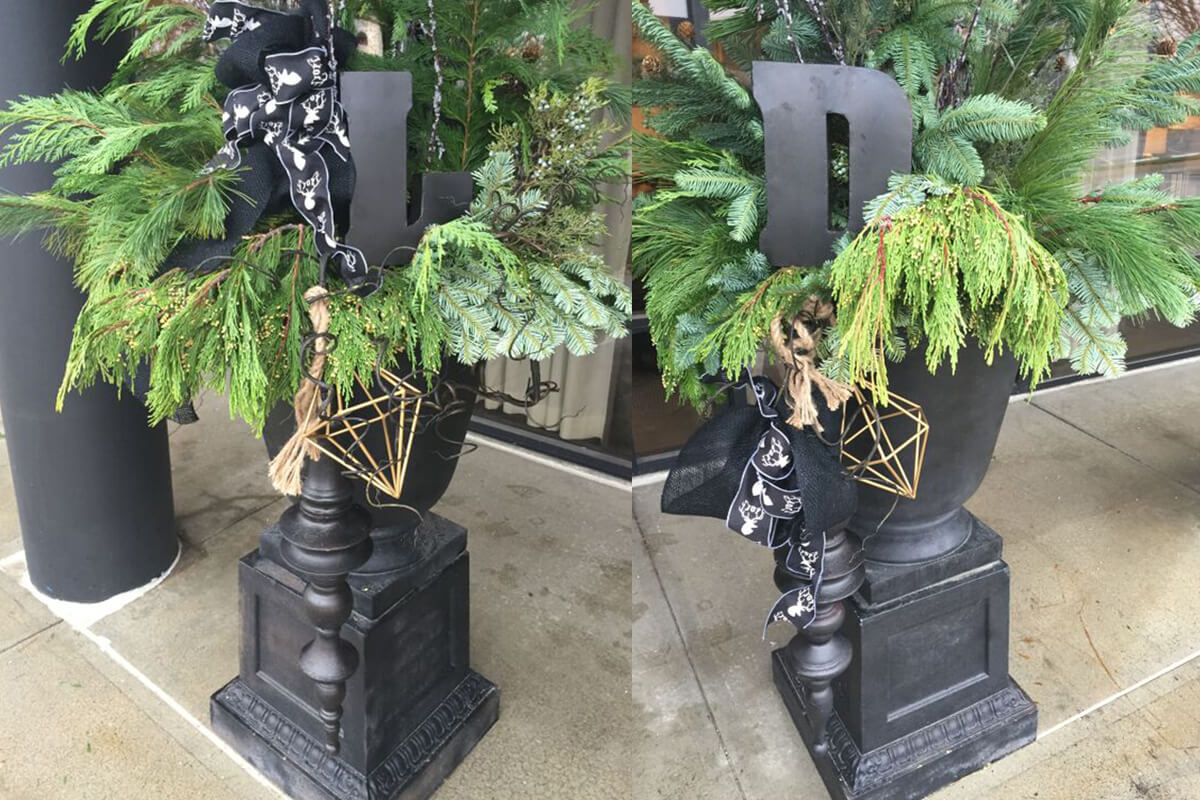
Step 6: I found some great, huge ornaments, but they were in red (fine, but not me) – a quick spray with a can of black spray paint, and it’s now my look.
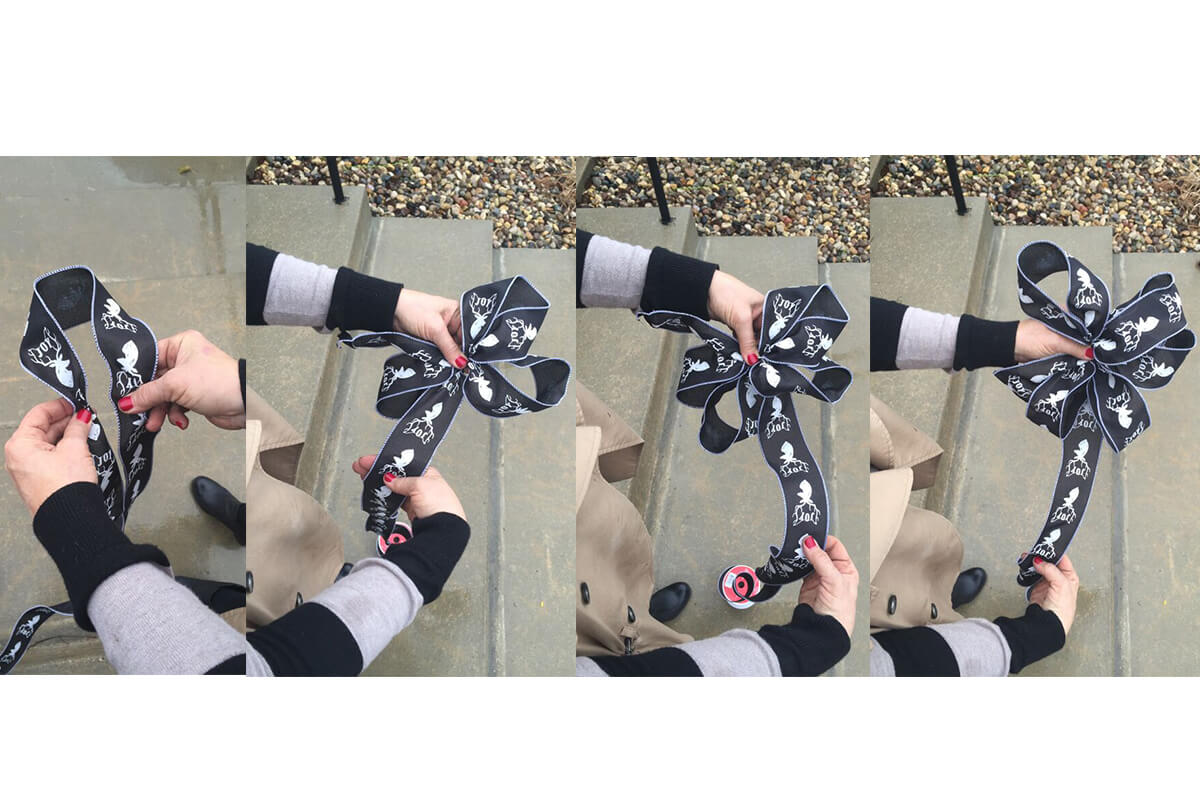
Step 7: I found some great printed ribbon and wanted to layer it with some black burlap for texture, so I simply made a bow. If you like symmetry- place the ribbon bows in the same place on each pot. I am opposite of symmetrical. I want everything to be connected and feel balanced, but not identical- so I found a couple different places to adorn my finishing touches.
Step 8: If you have several entrances, keep your look joined, but different. I decided to keep our side entrance in Omaha low but marry it to the front with the colors, concepts, and theme. The pots are different, but everyone will know – that’s Lee Douglas Interiors!
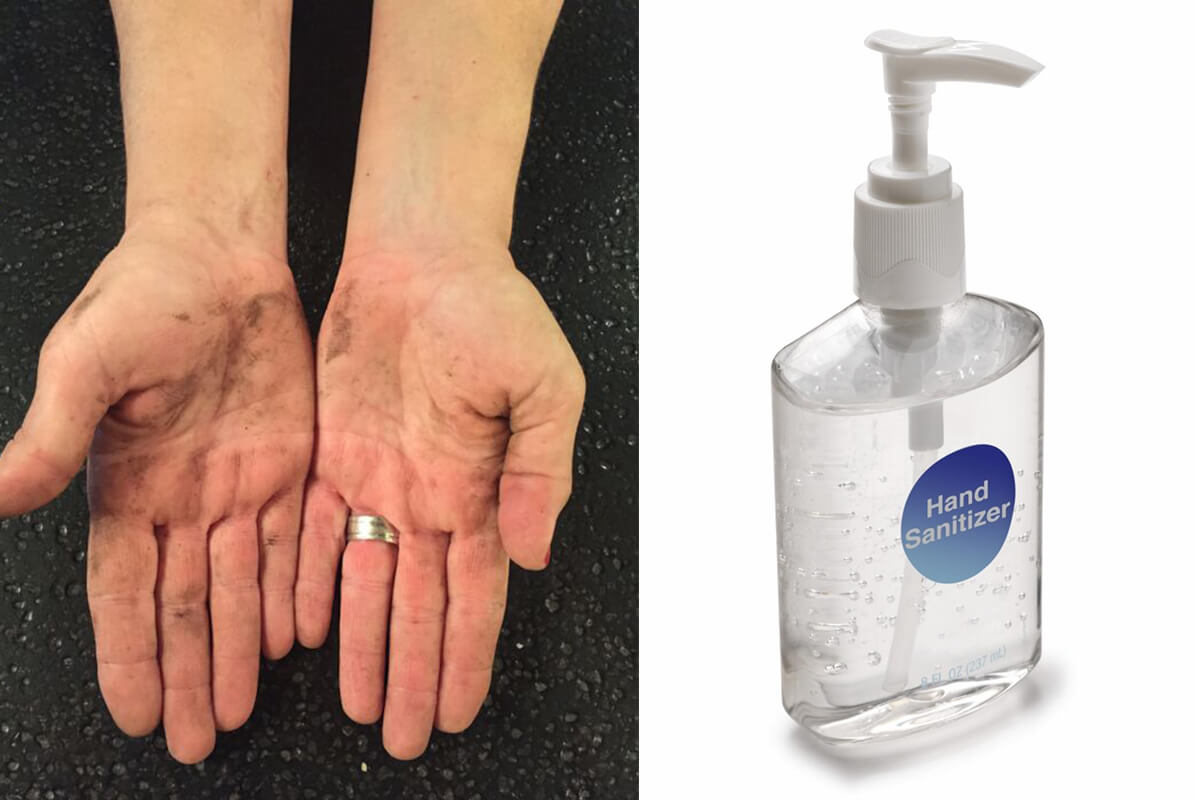
Step 9: This is the downfall – sap all over your hands! Hand sanitizer will take it off or wax remover.
I love designing for you- thank you for your business and friendship- but enough of that, get out there and do your pots!